Getting Started
This page will walk you through setting up the sewing machine for operation. The sections included are Basic Mechanisms, Threading the Bobbin and Threading the Machine. Videos for setting up the machine are also available online – make sure that you are looking at a similar model when searching for other guides (Brother XL2600i).
Basic Mechanisms
Lowering/Raising the Presser Foot
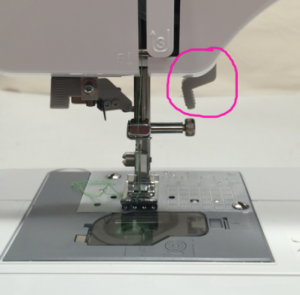
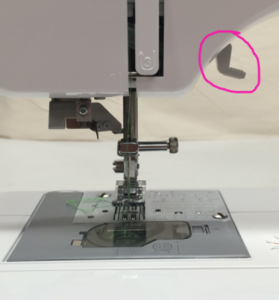
The presser foot is what holds the fabric flat against the feed dog as it is being fed and stitched through the machine. The feed dog on this machine are the two metal bars under the presser foot that are cross cut with diagonal teeth to provide traction.
Handwheel
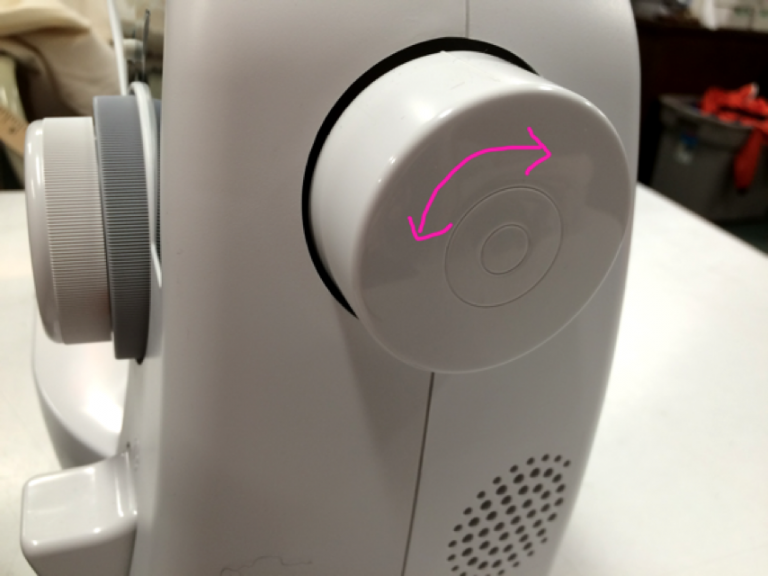
The handwheel is located on the right side of the machine. This part allows you to slowly turn the needle up and down by hand, going forward when you are turning the wheel towards you and backwards when turning it away from you.
The handwheel is primarily used when threading the machine, making fine adjustments and turning corners.
Threading the Bobbin
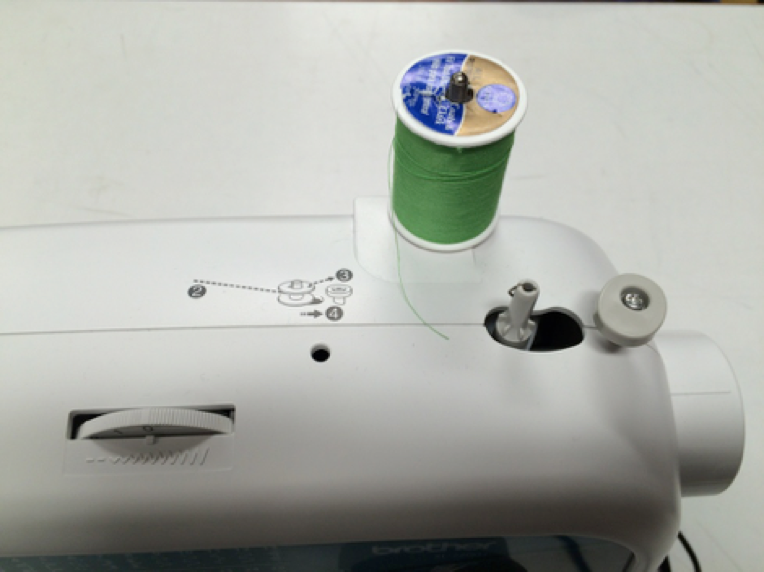
Set the spool of thread on the retractable metal spool holder on the top right corner of the machine.
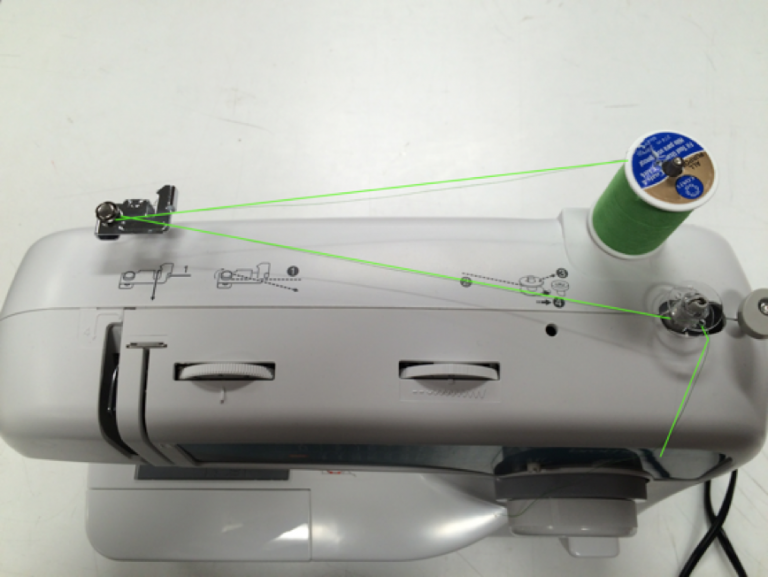
Feed the thread across the machine using the guides established by the circled numbers.
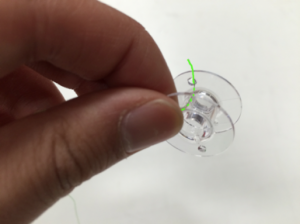
Feed tail of thread through the hole on the top of the bobbin. Place bobbin on the gray rod below the spool.
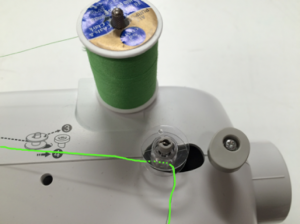
Push the bobbin over to the plastic stopper piece.
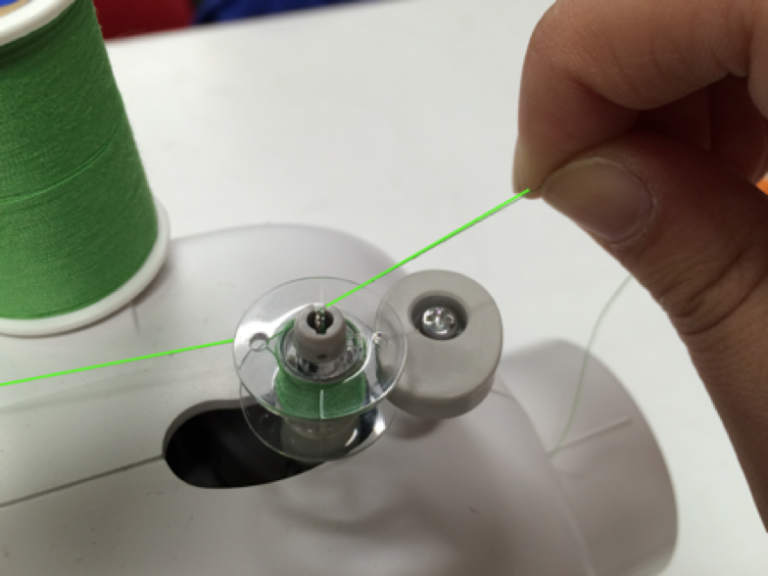
Hold the tail of the thread as you press down on the sewing machine pedal to fill the bobbin.
Make sure the tail down not get loaded into the bobbin. The tail will eventually break from the twisting, or can be trimmed when finished loading.
When the bobbin is full, it will automatically stop when it hits the stopper piece.
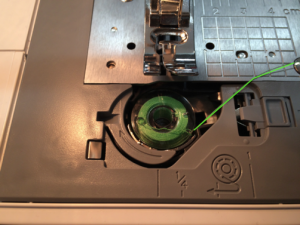
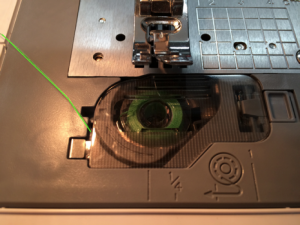
Insert the bobbin on the bottom of the machine near the presser foot so that the bobbin rotates counterclockwise when you pull the thread.
Bring thread under the plastic arrow piece, leaving a ~3” tail.
Replace the bobbin cover.
Threading the Machine
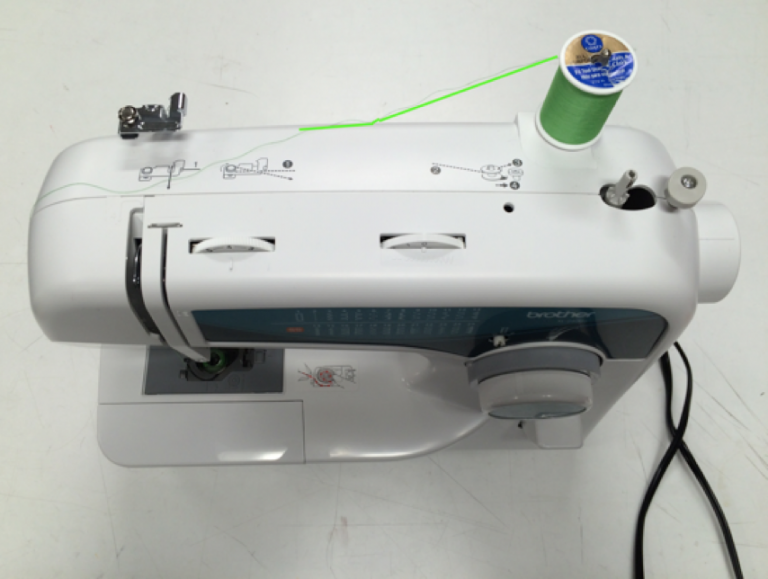
Set the spool of thread on the retractable metal spool holder on the top right corner of the machine.
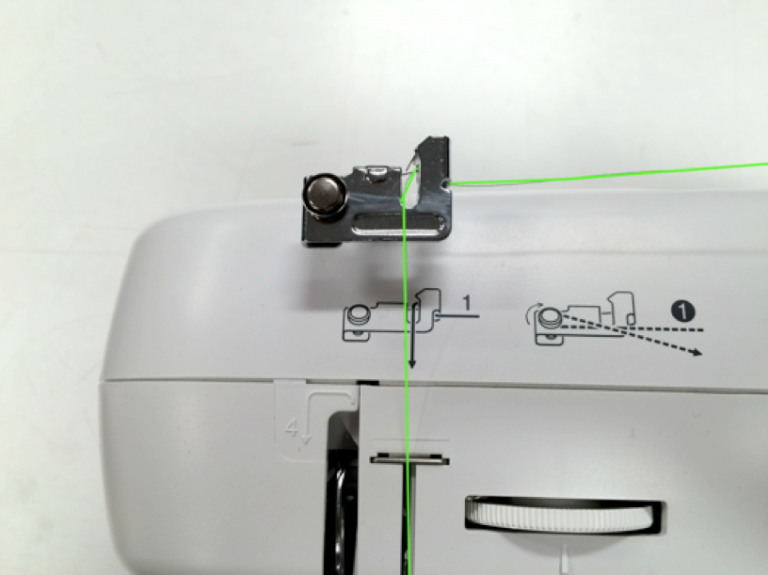
This time we are following the non-circled numbers.
- Pull the thread under the metal piece.
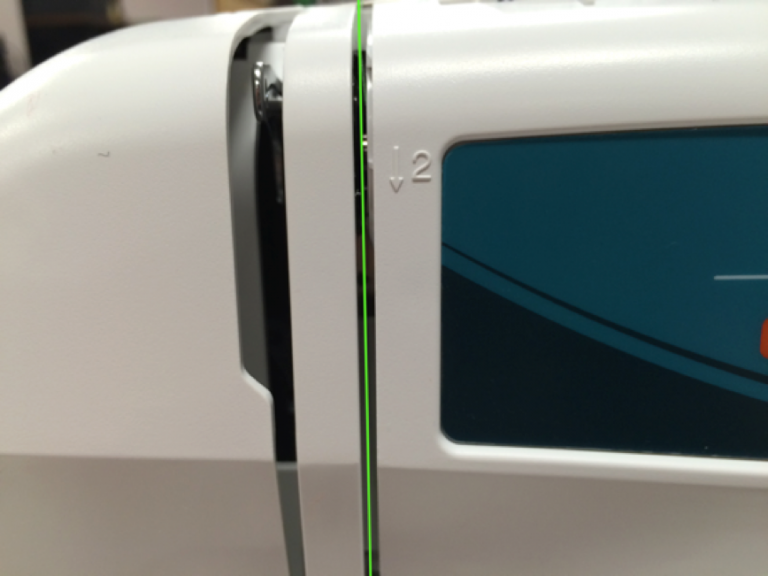
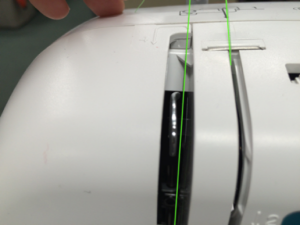
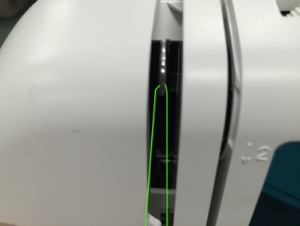
- Bring the thread down the crevice.
- Make a U turn with the thread around the corner
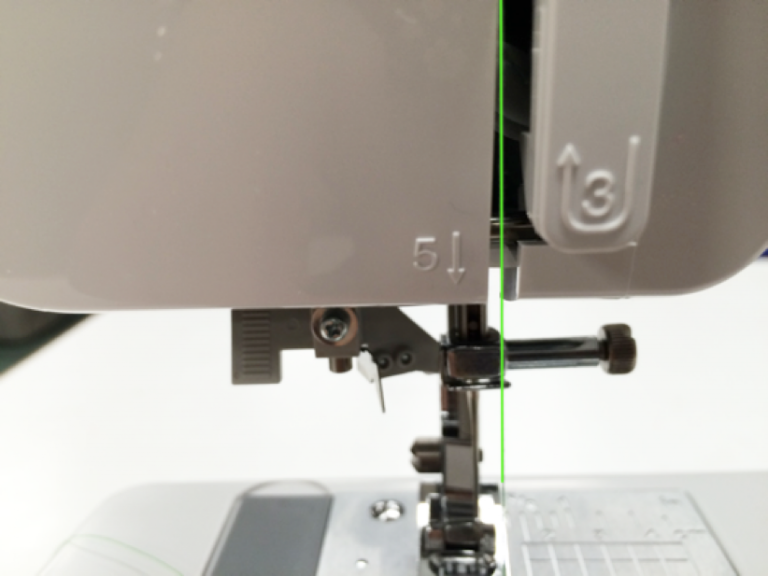
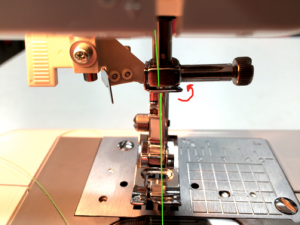
4. The thread is pulled up on the right side of the metal arm, then pulled around and down onto the left side so that the thread is sitting on the hook. Use the handwheel to move the metal arm up/down so that it is in a position for easier threading.
- The thread is now hanging down by the needle area
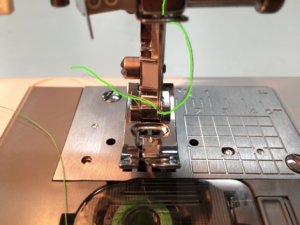
- Pull the thread down by the needle. Bring around the right side of the metal so that can sit behind the bar in front of the needle.
Thread the needle. Pull a ~4” long tail through the needle. The eye of the needle for a sewing machine is down by the point.
If you are interested in using the built-in needle threader, refer to p. 34 of the manual.
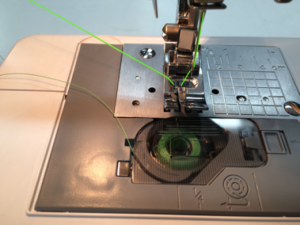
Turn the handwheel on the machine towards you so the threaded needle is lowered down towards the bobbin.
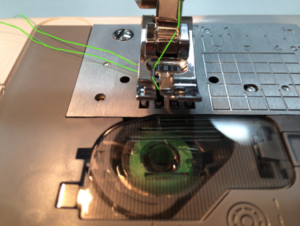
Keep on turning the handwheel in the same direction until the spool thread (from the needle) catches onto the bobbin thread and pulls out through the bottom feed.